Mr. Robinon's Classroom Update
Hi Kids and Parents!
Hope this article finds you well during this rough time. I miss seeing all of you and hope to get back to school soon! In addition to the packets I sent home, I am going to post weekly articles to help students continue to work on goals from home! Be on the lookout for fun activities that you can do at home.
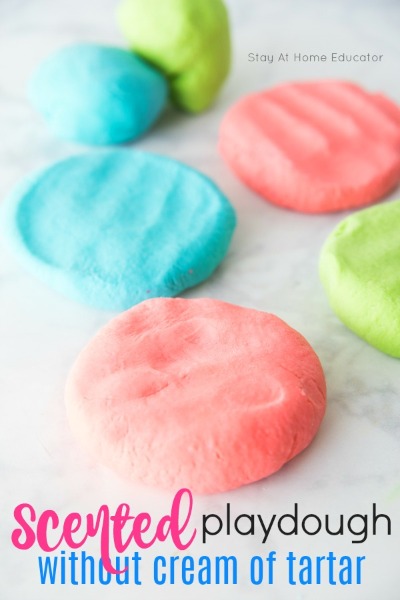
Today's activity addresses following directions to make play dough! We are using one of our favorite at home recipes by Sarah from https://stayathomeeducator.com/absolutely-perfect-no-cook-scented-play-dough-recipe-without-cream-tartar/. All credit goes to her for this recipe! I will post her directions here, but you can also use the link I posted above.
Items you need:
- Flour
- Salt
- Cooking Oil
- Lemon Juice
- Kool-Aid (optional)
- Food Coloring (optional)
- Large mixing bowl
- microwavable measuring cups
- Aluminum Foil, Parchment Paper or Wax Paper
1 cup flour
1/4 cup salt
3/4 cup of water minus 3 tablespoons
3 tablespoons of lemon juice
1 tablespoon cooking oil
2 packets Kool-Aid (optional for fragrance and coloring)
DIRECTIONS:
Measure the water and lemon juice into a heatproof, microwavable 2-cup measuring cup. Heat in the microwave until just boiling, about three minutes.
Meanwhile, mix together the flour and salt well.
If using Kool Aid for the fragrance, slowly (and I mean s-l-o-w-l-y, because the mixture will foam a bit) pour the kool-aid packets into the HOT water and lemon juice mixture and add additional food coloring
to intensify the color if desired.
Slowly pour the liquid into the flour and salt mixture, and stir with a wooden paddle until it just barely begins to form a dough.
Drizzle the tablespoon of cooking oil over the dough and stir again until it forms a ball. At this point, you may want to knead the dough with your hands.
It may feel a bit sticky, too, but DO NOT add more flour. As the dough cools it will thicken and become less sticky. (Just like how gravy turns to sludge once refrigerated).
Now, once the dough is completely cooled, you may add flour a tablespoon at a time until it is the perfect consistency.
Allow the dough to cool a bit on a sheet of aluminum foil, parchment or wax paper. By the time you finish the next batch of play dough, the first will be cool enough to store. I love to store play-dough in these freezer jam containers because the screw on lids are more airtight than snap-on lids.
Now that you worked on following directions here are a few more fun and educational things you can now do with your play-dough:
- Make letters with the play-dough and then discuss the sounds the letter makes
- Make numbers and do subtraction and addition problems
- Make shapes
- Discuss different colors if you made multiple colors of play-dough
- Spell your name
I hope this activity is a fun way to encourage learning with your child. Please email me at brobinson@putnamcountyr1.net if you need to touch base. I would love to hear from you and will check my email frequently. Remember to stay healthy! I will post another activity in a week!
P.S. I would love to see a picture of you and the play-dough you made so feel free to share with me in an email. (Brobinson@putnamcountyr1.net)
Blane T. Robinson


 Launch the media gallery 1 player
.png)


